
Unlock the secrets of how to use paint sprayer inside! Learn expert techniques & tricks for using a paint sprayer inside. Say goodbye to messy projects!
Many people think that painting indoors is messy. But it doesn’t have to be! With the right tools and techniques, indoor painting can be clean and easy. This guide will show you how to paint indoors without making a mess.
Choosing the Right Tool for Indoor Painting

Before you start painting indoors, you need to pick the right tool. There are different types of paint sprayers available. A handheld paint sprayer works well for small jobs like painting furniture or trim. It’s small and easy to control. But if you’re painting a whole room or house, you might need an airless paint sprayer. It’s powerful and covers large areas quickly.
When choosing a paint sprayer, think about what you need it for. For example, a handheld sprayer is better if you do detailed work. If you have prominent areas to paint, go for an airless sprayer. Consider how easy it is to clean and how thick the paint can be. Pick the right tool to make your indoor painting job much easier.
Preparing Your Paint Sprayer for Indoor Projects

Some folks may think setting up a paint sprayer is daunting, but fear not! With a few straightforward steps, you can have your paint sprayer primed and ready for indoor painting in no time.
Gather Your Supplies
First things first, gather all your painting supplies. You’ll need your paint sprayer, of course, along with your chosen paint, masking tape, drop cloths, and don’t forget your safety gear – goggles and a mask. Having everything you need on hand will make the setup process much smoother.
Get Your Space Ready
Before you begin:
- Take some time to prepare your painting area.
- Clear out the space of any furniture or items that could get in the way.
- Cover surfaces you don’t want to paint with drop cloths or plastic sheeting and use masking tape to protect areas like baseboards and windows.
A well-prepped space will help you avoid unwanted messes and ensure a tidy finish.
Thin Your Paint (If Necessary)
Depending on the paint sprayer you’re using, you may need to thin your paint to achieve the ideal consistency for spraying. Check the manufacturer’s instructions or do a viscosity test to determine if thinning is required. If so, add water or thinner to your paint and mix thoroughly until you reach the desired consistency. Ensuring your paint is thinned correctly will help prevent clogs and ensure smooth, even coverage.
Prime Your Sprayer
Before you load your paint, it’s essential to prime your sprayer. Priming helps remove any air bubbles and ensures consistent paint flow during operation. Follow the manufacturer’s instructions to prime your sprayer correctly, which typically involves flushing it with clean water to remove any debris or residue from previous use. Proper priming will help your sprayer perform at its best and minimize the risk of clogs or malfunctions.
Load Your Paint
With your sprayer primed and ready to go, it’s time to load it with paint. Pour your thinned paint into the sprayer’s reservoir, careful not to overfill. Secure the reservoir lid tightly to prevent leaks or spills during painting. Take your time to ensure the sprayer is loaded correctly, as proper paint application depends on consistent paint flow and coverage.
Following these detailed steps, your paint sprayer will be set up and ready for indoor painting projects. In the next section, we’ll explore techniques for using your sprayer effectively to achieve professional-quality results indoors. Keep reading to learn more!
How To Use Paint Sprayer Inside: Getting Professional Results

Some people think using a paint sprayer indoors is difficult, but it doesn’t have to be! You can get great results every time you paint inside with a few tricks.
Understanding Your Paint Sprayer
Before you start painting, take a good look at your paint sprayer. There are different settings you can adjust to get the best results. Try them on a test surface to see what works best for your project. Knowing how your sprayer works will help you paint like a pro.
Keeping the Right Distance
When spraying paint, keep the sprayer about 6 to 8 inches from the surface. This helps the paint go on evenly without dripping or running. Keep the same distance as you move along to keep things looking smooth.
Overlap Your Strokes
As you spray, make sure to overlap your strokes a bit. This helps the paint cover the surface evenly and prevents streaks. Start each stroke slightly over the last one, moving smoothly across the surface. It might take some practice, but you’ll get the hang of it.
Control Your Speed
Take your time when you’re spraying paint. If you go too fast, the paint might be thin and uneven. But if you go too slow, it could drip or run. Find a steady speed that works for you. Experiment a bit until you find what feels right.
Make Sure to Cover Everything
As you paint, ensure you cover every part of the surface. Overlap each pass by about half to ensure you get everything. This helps the paint look even and smooth when it dries.
You can get great results with your indoor painting projects using these simple techniques. In the next section, we’ll talk about how to stay safe while you paint indoors. Keep reading for more tips on getting the perfect indoor paint job!
Safety Precautions for Indoor Paint Spraying
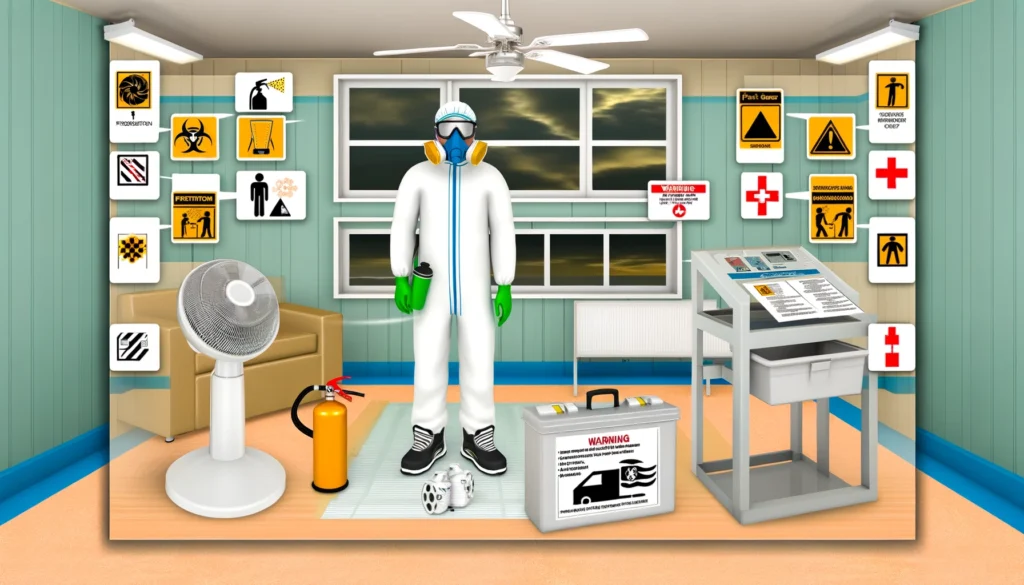
Some people worry that indoor painting can be dangerous. Still, with the proper precautions, you can paint indoors safely and comfortably. Explore some essential safety tips to ensure your indoor painting project goes smoothly.
Keep the Air Fresh
When you paint indoors, it’s crucial to keep the air circulating. Open windows and doors to let fresh air in and help paint fumes escape. If you can, use fans to help move the air around. Good ventilation can prevent you from feeling dizzy or sick from the paint fumes.
Protect Yourself
Before you start painting, make sure to protect yourself. Wear goggles to shield your eyes from splatters and a mask to keep paint fumes out of your lungs. Long sleeves and pants can help keep paint off your skin. It’s essential to stay safe and comfortable while you work.
Watch Your Step
Look around your painting area and remove anything you might trip over. Loose rugs, cords, and clutter can be hazardous when using a paint sprayer. Also, cover furniture and floors with drop cloths to catch paint spills and protect them from damage.
Clean Up Spills Quickly
Despite your best efforts, spills can happen during painting. If you spill paint, don’t panic! Grab some clean rags or paper towels and clean it up right away. This prevents the paint from spreading and causing more mess. If you’re using oil-based paint, avoid using water to clean it up.
Dispose of Waste Properly
Once you’re done painting, it’s essential to dispose of waste properly. Throw away used paint cans and brushes according to your local rules. If possible, recycle empty paint cans to reduce waste. Proper disposal helps keep your environment clean and safe for everyone.
Following these simple safety tips lets you enjoy a worry-free indoor painting experience. In the next section, we’ll discuss how to clean up after painting and maintain your paint sprayer for future projects. Keep reading for more helpful tips!
Cleanup and Maintenance Tips for Indoor Paint Spraying

Some people think cleaning up after indoor painting is a hassle, but it doesn’t have to be! With a few simple steps, you can tidy up and keep your paint sprayer in top shape for your next project. Let’s dive into some essential tips to make cleanup and maintenance a breeze.
Wipe Up Spills Right Away
If you accidentally spill paint during your project, don’t worry! Grab some paper towels or rags and wipe up the spill immediately. The quicker you clean it, the easier it is to get rid of. Don’t let the paint dry, as it becomes harder to clean later. This small step can save you from stains and damage to your surfaces.
Clean Your Paint Sprayer Thoroughly
After you finish painting, it’s time to give your paint sprayer a good cleaning. Flush it out with water or a cleaning solution as per the instructions. This helps remove leftover paint and prevents clogs from messing up your sprayer. Regular cleaning keeps your sprayer in good shape and ready for your next project.
Store Your Equipment Properly
Once your paint sprayer is clean, store it correctly until you need it again. Empty the paint reservoir and clean all parts thoroughly before putting them away. Keep your sprayer in a cool, dry place, away from sunlight and extreme temperatures. Storing it properly prevents damage and ensures it works well for years.
Dispose of Leftover Paint Safely
If you have paint left over that you won’t use, remove it properly. Check with your local waste management for the best way to dispose of paint safely. Many places have recycling programs for paint or can help you dispose of it without harming the environment.
Check and Maintain Your Equipment
To keep your paint sprayer in top condition:
- Check it regularly for any signs of damage.
- Look out for cracked hoses or worn-out parts and fix them right away.
- Lubricate moving parts and follow the maintenance schedule recommended by the manufacturer.
Regular maintenance keeps your equipment in good shape and ready for action.
Following these simple cleanup and maintenance tips, you can wrap up your indoor painting project smoothly and keep your paint sprayer in excellent condition. In the next section, we’ll share some final thoughts and encouragement for your future painting projects. Keep reading for more helpful insights!
Conclusion
Some people think indoor painting is too tricky, but it’s not! You’ve learned a lot about painting indoors, and now you’re ready for more. Remember, painting isn’t just about finishing a project – it’s about expressing yourself and making your space beautiful.
Keep Exploring
As you move forward, keep exploring new ideas and techniques. There’s always more to learn; trying new things can be exciting and fun. Feel free to experiment and see what works best for you.
Celebrate Your Success
Every project you complete is a success. Take pride in what you’ve accomplished, whether a freshly painted room or a refurbished piece of furniture. Each brushstroke is a step forward in your painting journey.
Stay Curious
Stay curious and keep learning. Look for inspiration everywhere – online, in magazines, or even in nature. You never know where your next great idea will come from.
Believe in Yourself
Believe in your abilities as a painter. You’ve come a long way, and you have what it takes to tackle any painting project that comes your way. Trust yourself, and don’t be afraid to dream big.
Keep Painting
Above all, keep painting! Let your creativity flow, and enjoy the process. With each brush stroke, you’re making your space your own.
Your painting journey is just beginning. Keep moving forward with confidence, curiosity, and enthusiasm. The world is your canvas – go ahead and paint it with joy and inspiration!
FAQs Of How To Use Paint Sprayer Inside
Q: Is indoor painting complex?
A: Indoor painting can seem tricky, but it’s manageable for anyone with the proper techniques and tools.
Q: How do I choose the right paint color?
A: Consider the mood you want to create and how the color will complement your furniture and decor.
Q: Can I paint over old paint?
A: Yes, you can paint over old paint, but clean and prime the surface first for best results.
Q: Do I need to sand before painting?
A: Sanding can help smooth out rough surfaces and improve paint adhesion, but it’s not always necessary.
Q: How do I prevent paint from dripping?
A: Use thin coats of paint, maintain a consistent distance from the surface, and avoid overloading the brush or roller.
Q: Can I paint over the wallpaper?
A: It’s possible to paint over wallpaper, but it’s essential to prime the surface first and ensure the wallpaper is firmly adhered.
Q: How long does it take for paint to dry?
A: Drying time depends on factors like humidity and ventilation. Most paints dry to the touch within a few hours but may take longer to fully cure.
Q: What should I do if I accidentally spill paint?
A: Act quickly to clean up the spill with water or a cleaning solution before it dries. Use paper towels or rags to absorb the paint.
Q: How do I clean my paintbrushes and rollers?
A: Use soap and warm water to clean water-based paints and mineral spirits for oil-based paints. Rinse thoroughly and allow to air dry.

